Saturday, 19 October 2013

Halloween cupcakes: Salted caramel spiderweb cupcakes

I love Halloween. Correction i used to.

No longer a kid, means that unfortunately i can't dress up as a witch, with itchy purple hair and long black gloves with red fingernails stuck on. Instead i have to stay at home, moping. while my sister gets to go out 'trick or treating'.

But fear not, to all those people who aren't kids or live in America. These bad boys certainly make up for the free sweets and taste even better.
Salted caramel cupcakes with salted caramel icing. Trust me this icing is just like heaven on a spoon, try to ice all of the cupcakes before tasting the icing because ... once tried you will want to gobble it all up.
The cupcakes are made with dark sugar to give the caramel flavor, though because of the dark sugar they are denser than most other cupcakes. I used salted butter so added only a tiny bit of extra salt but if you want caramel cupcakes use un-salted butter and don't add any salt. 

The icing....A bowl full of heaven. Salted caramel sauce but in icing form!If you want to create the spider web effect, just reserve some of the caramel sauce before adding the icing sugar. Then ice the cupcakes but don't pile the icing up to high.Then create a swirl pattern on top with the sauce then with a toothpick or a skewer draw a line from the centre outwards, then repeat until you have created a spider web design.see below.


ingredients

-190 g plain flour
-3/4 teaspoon baking powder
-1/2 teaspoon salt 
-200 g dark brown sugar
-100 g caster sugar
- 115 g unsalted butter, softened 
-2 large eggs
-1 teaspoon vanilla extract
-120 ml whole milk 

  1. Preheat oven to 350F. Line tin with cupcake cases.
  2. In a bowl, beat the butter and sugar together until light and fluffy. Add the eggs one at a time and vanilla. sift together the flour, baking powder, and salt. Slowly mix in the dry ingredients, until no flour remains. Slowly stir in the milk.
  3. divide the mixture between the 12 cases.Bake cupcakes for 22-23 minutes, or until a skewer comes out clean. cool before icing.

Icing

Ingredients
- 115 g salted butter
-200 g dark brown sugar
-80 ml double cream
-1/2 teaspoon salt
-240g icing sugar, sifted

melt the butter in a small saucepan. Once melted, add brown sugar and double cream. Stir constantly until sugar is dissolved. Add salt. Allow to bubble for 2 minutes. Remove from heat and allow to cool. Do not place in the fridge to cool. Beat in icing sugar. If wished create spiderweb design.


Saturday, 12 October 2013

Caramel centred cookies


As so as I saw these, I knew I just had to bake them. With oozing nutella and caramel, with a touch of sea salt making it liked salted caramel(which is probably the my most favourite food, in the whole wide world). 

The salt is of course optional: Both of my sisters, to my annoyance took the salt off. You could easily change the chocolate spread inside with a nut free spread if you have allergies, or one with a different nut. 


For the caramel I used a square of Cadburys chocolate with caramel, but there are plenty of other caramel centred chocolates or you could try a salted caramel/caramel sauce: Make sure its a thick sauce or you seal the edges really well.


Ingredients
110g butter
350g light brown sugar
55g cocoa powder
2 eggs
1/4 tsp salt
3/4 tsp baking powder
260g all-purpose flour
100g milk or dark chocolate chips
good quality salt, for sprinkling
1/2 per biscuit of nutella 
1 caramel-filled chocolates per biscuit
 
1.Line a baking tray with greaseproof paper. Preheat your oven to 350 degrees F (180 degrees C)
2.In a medium saucepan, melt the butter. Take off the heat and stir in the brown sugar and eggs.
3.  add the cocoa, salt and baking powder and stir until well combined.
4.Add the flour and stir until no floury patches are left.
5. stir in the chocolate chips.
6.Take 1 heaped tbsp of dough, use your finger make a large indentation the centre of the dough.
 7.fill the indentation with a small blob of nutella and square of caramel-filled chocolate. Top with a flattened tablespoon of dough, and seal the edges.
8.Sprinkle with salt and bake for 8-10 minutes.


Recipe from 'Topped with cinnamon'.


Tuesday, 3 September 2013

Elderflower cordial

Elderflower cordial. How much more spring could you put in a glass? Refreshing, fresh and something a bit different, rather than boring orange juice.
You might think its really hard to make but it's really easy, the hardest part is pouring the cordial in a bottle without a funnel, and not spilling a drop!

The flowers are easy to find,they are small, bunched in a group and normally quite high up. Chose the flowers with open buds and none brown. I got mine from the woods in the park, and had to reach quite high.! DO NOT PICK LOW FLOWERS, they have to be out of a dogs reach! 
Makes about 1.3 litres 

Ingredients 

-25-35 big heads of elderflower 
-1 kg of caster sugar 
- 50g of citric acid ( available from pharmacists)
-3 lemons sliced
1. Tap the blossoms to remove any insects.remove long stems and leaves.
2. Put sugar into a bowl and pour in 1.5 litres of boiling water in. Stir to dissolve sugar, cover and leave to cool.
4.stir in citric acid, flower heads and lemon.cover and leave in a cool dark place. 
5. Once left for 24-48 hrs( the longer its left, the stronger flavour), strain the liquid through a muslin.
6. Pop into sterilised bottles, and keep in the fridge.

Sunday, 30 June 2013

This month i'm loving - summery drinks

Far from the wintry New Zealand, in summery, sunny England. I've been loving summery drinks to help me through the hot days!


I made some elderflower cordial, which is very refreshing. Made with the late elderflower this year, topped up with ice cold water or fizzy water. Perfect on a summers picnic with plenty of sunshine (see later post for recipe).


Or perhaps pink lemonade....
                                               Perfect for the kids while the adults are enjoying champagne. Best served ice cold, with strawberries to the side, sunshine and a good dose of Wimbledon!

Try serving in plastic champagne glasses for the kids(so they can feel more grown up).


Planning a party ?

these glass markers from vacu vin are are fun way to keep an eye on your glass.with fun shapes and bright colours and not as annoying as something on the rim.

not sponsored.

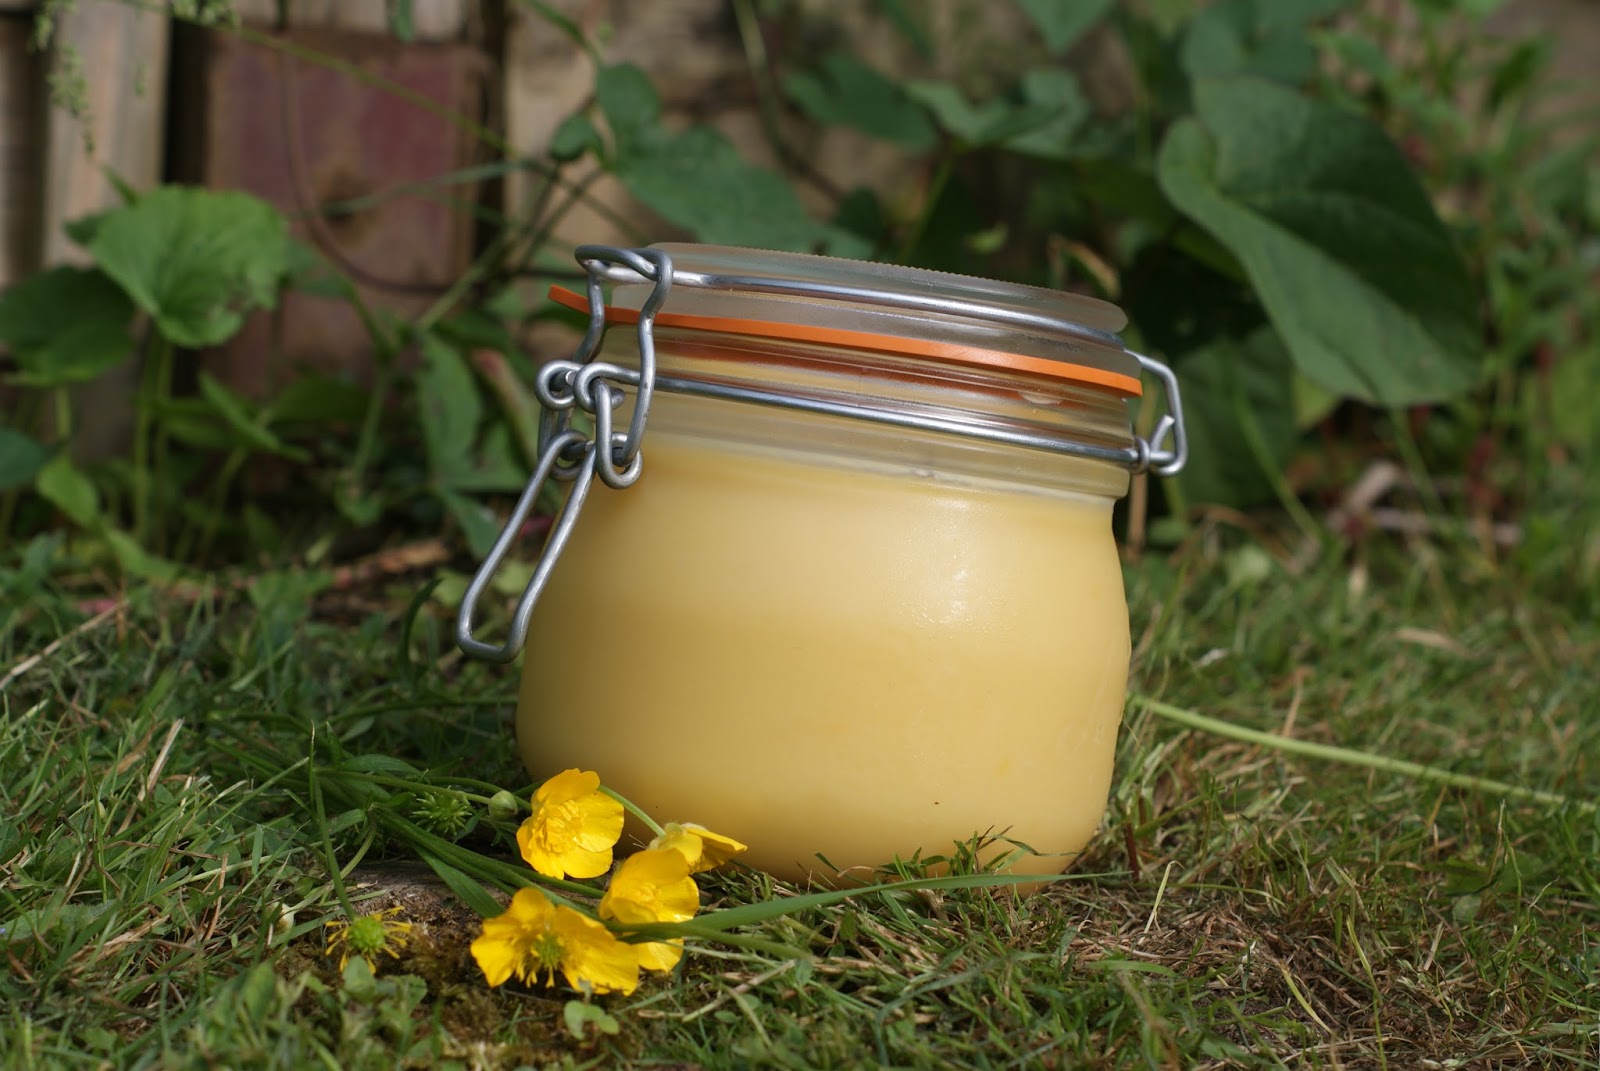
Lemon curd

Well, what can i say.... My favourite food ever! I love lemons, so this is perfect. Lemony, soft and definitely delicious.

Perfect on pancakes with cream, or try it inside a cake mixture and then on top for a lemony twist to cupcakes or for cake, pop this in and then put lemon drizzle on top.


Ingredients

4 unwaxed lemons
zest and juice200g/7oz unrefined caster sugar
100g/3½oz unsalted butter, cut into cubes
3 free-range eggs, plus 1 free-range egg yolk
  1. Put the lemon zest and juice, the sugar and the butter into a heatproof bowl.
  2. Sit the bowl over a pan of gently simmering water, making sure the water is not touching the bottom of the bowl. Stir the mixture every now and again until all of the butter has melted.
  3. Lightly whisk the eggs and egg yolk and stir them into the lemon mixture.
  4. Whisk until all of the ingredients are well combined, then leave to cook for 10-13 minutes, stirring every now and again, until the mixture is creamy and thick enough to coat the back of a spoon.
  5. Remove the lemon curd from the heat and set aside to cool, stirring occasionally as it cools.
  6. Once cooled, spoon the lemon curd into sterilised jars and seal. Keep in the fridge until ready to use.

Thursday, 20 June 2013

Coffee cake (without walnuts)

Well if you like coffee(like my dad and my mum) then you will defiantly like this divine cake. I prefer this cake to most others I've tasted as this one doesn't contain walnuts, which i find take away the "coffeeness" from the cake.Which i personally love!

For this recipe i kept the amount of coffee in the sponge the same, but i added more to the icing in attempt to put my sisters off, as they don't they coffee that much(it didn't work *_*).

* warning try to eat this at lunch time, to avoid being kept awake if you add more coffee.


And yes my most risky cake yet, a four layered one. ahhhhhhhhhhh scary. well not really all i did was bake two sponges and then cut them in half. well...  slightly wonky half's.


Ingredients

225g very soft butter, plus more for the tins
225g light muscovado sugar or caster sugar (i did half and half)
225g self-raising flour
1 tsp baking powder
4 large eggs
4 level tsp instant coffee, dissolved in 1 tbsp boiling water

For the coffee icing
175g soft butter
350g icing sugar
4 level tsp instant coffee, dissolved in 1 tbsp boiling water

1.Preheat the oven to 180C,Gas 4.
2.Butter and line two cake tins.
3.beat butter and sugar together
4.beat in eggs one at a time
5.fold in flour and baking powder.
6.Stir in the dissolved coffee until thoroughly blended.(taste, if needed add more coffee)
7. Divide the mixture evenly between the two tins.
8.pop in the oven for about 25–30 minutes until golden brown and spongy.

9.For the icing, beat the butter and sugar together bowl, until smooth. 
10.Beat in the dissolved coffee (taste, add more if needed).
11. When cold (*optional* slice each cake horizontally in half)
12. ice each layer then the top (if you want to go round the sides you may want to double the icing).

Wednesday, 5 June 2013

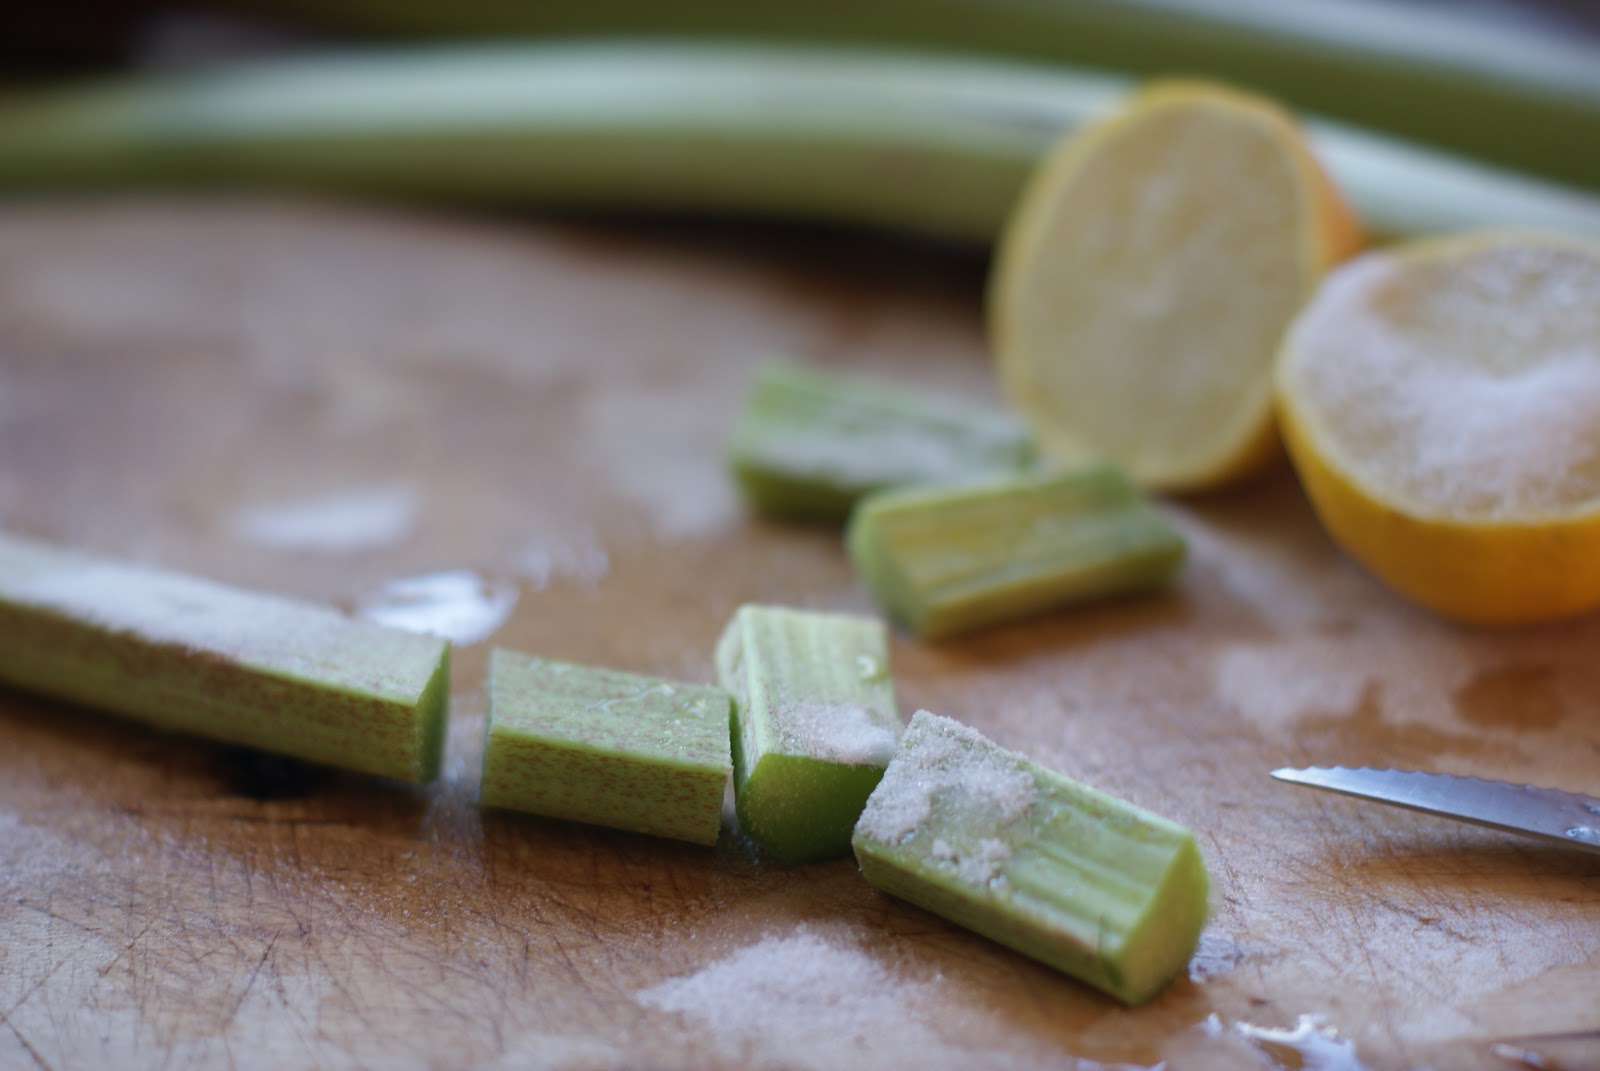
Rhubarb and lemon jelly cake

as promised, my favourite spring time dessert.With a crisp base, soft topping of rhubarb and lemon jelly. desserts don't get more spring like.


Preferably made with lemon jelly crystals but can't seem to find them in the UK,so i use a lemon jelly pack.
Homegrown rhubarb is obviously the best, choose bright red stalks for the best colour.

i used plain digestive biscuits for the base but you could use any plain biscuits. If you like a crisper base make it 1 -2 hours before you need it. left overnight the base isn't as crispy.


Ingredients

3 rhubarb stalks
70g butter
1/2 pack of 135g lemon jelly
150g biscuits

1. crush biscuits and pour in melted butter
2. boil rhubarb until soft and broken down
3. let the rhubarb cool slightly before adding jelly
4. pour onto base
5. pop into the fridge to set

6. serve with cream