Showing posts with label gifts. Show all posts

Tuesday, 15 December 2015

Gruyere Biscuits

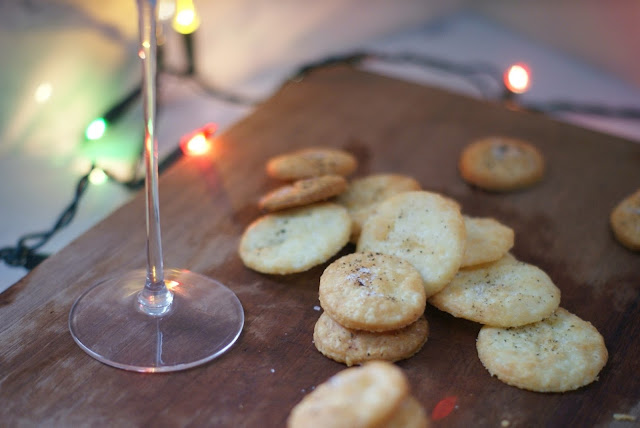
The ultimate party food, to compliment champagne or prosecco. The saltiness paired with the fruitiness of the wine, is a match made in heaven. Plus, they're super easy, and quick to make. They're incredibly moreish, and suit to most people's tastes. They're not complicated, and there isn't too many ingredients to remember: just make these, and buy some M&S canapes, stock up on alcohol (which from my experience, is the only thing anyone actually cares about), then that's every single Christmas, and New Year party sorted.cheese biscuits
I would recommend at least doubling these, if not tripling these, because you'll find they disappear very quickly. I left them out for 30 mins, and they were all gone by the time i got back, and there were only 2 other people at home (I'm pretty sure a cheese biscuit eating fairy came!!).cheese biscuitsThese can also be made with Parmesan, and its super easy to make different flavoured ones. Finely chopped up rosemary or thyme, would work well, or sprinkle with a pinch of paprika for a bit of heat. The dough can be made well ahead, and kept in the fridge or frozen for later use. The baked biscuit will keep well, in an airtight container for up to a week.
cheese biscuits
cheese biscuits
cheese biscuits
cheese biscuits
Ingredients
75g plain flour
75g cold butter
75g Gruyere cheese
salt and pepper

1. rub the butter and flour together, until it resembles breadcrumbs
2. add the cheese, and gently knead to form a dough
3. wrap, and chill for 10 mins in the fridge
4. meanwhile preheat the oven to 200c.
5. place the dough onto a lightly floured surface and roll out quite thin, and cut out approx 5cm rounds using a cutter (or glass)
6. bake for 10mins (leave room for the biscuits to spread)
7. once golden around the edges, remove from the oven and immediately sprinkle with salt and pepper
8. leave to cool completely before serving.

cheese biscuits

Tuesday, 15 September 2015

Coconut and Apricot Slice

Writing about these is making me want one so badly, and yes, you probably here that a lot on blogs, but honestly this is one of my favourite bakes. Luckily for me; one sister didn't like it, the other was going through a vegan stage, my mum was away dog/house sitting, and my dad tends to forget about the things i bake, if they're in the cupboard. So as you can imagine, i had a lot to eat myself, not that i minded too much.
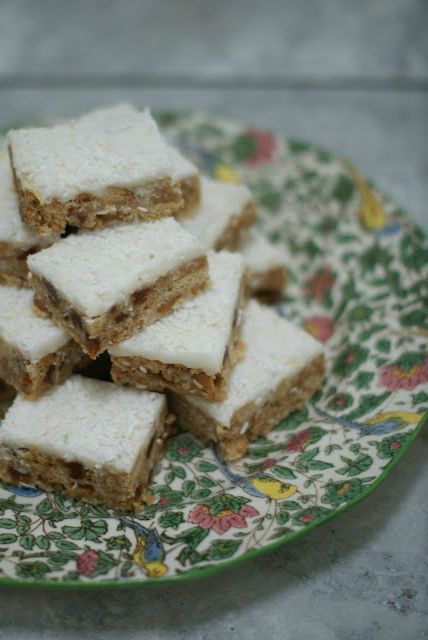
If you wanted something sweet, bite size and that pairs together so well, like carrot and cumin, apple and cinnamon, then look no further. The sweetness of the biscuit, and condensed milk, with the tartness of the apricot and then the lemon icing, topping off the perfect crunch, to chew ratio underneath. 
Personally, I love apricots and wouldn't change them, but if you don't, raisins would work just as well. I used digestive biscuits, but any plain, sweet biscuit would do the job. I also added lemon zest to the icing, and extra lemon juice because I love lemon, as you might know, if you've been reading my blog for a while. 
I don't particularly like super thick icing on slices, so i halved the original recipe, but feel free to double the one below, if you like thicker icing. I also pressed in extra coconut, to make it look pretty, since my icing lost its shine, as i kept touching it, but if your more skilled than me, and can create a flat and shiny surface, then go ahead!!


Ingredients

100g butter
3/4 cup condensed milk
375g digestives, crushed
150g dried apricots, finely chopped
1 cup desiccated coconut
2 tbsp lemon juice

icing

25g butter
1.5 tbsp boiling water
1 tbsp lemon juice
zest of 1 lemon
1 3/4  icing sugar

1. melt the butter and condensed milk. bring to the boil and simmer for 2 mins.Remove from the heat

2. Add the crushed biscuits, apricots, coconut and lemon juice. Mix well.
3. press into 30cm x 24 cm lined baking tin. Pop in the fridge until set, then ice.
4. For the icing: Melt butter and mix with the boiling water, icing sugar, lemon zest, and juice to a smooth consistency
5. Spread over base. Press into extra coconut if desired, and once set, cut into squares  


Tuesday, 18 August 2015

Coconut and Chocolate Balls

Continuing with the recent coconut obsession; Which is healthy right? Perfect, accompanied by (several) an episode of Orphan Black, (the rediscovered unhealthy obsession!); or TV episode of your choice. The dark chocolate, makes them seem extremely healthy, even though they're not really, which may have resulted, in them being eaten extraordinarily quickly; which may, or may not have been consumed at breakfast.
To make them healthier they are coated in dark chocolate, but milk would also work well, especially you prefer things sweeter, as the coconut isn't that sweet. Or if you really want to push the boat out, dipping it half and half, would look pretty. Or if your giving these away as a gift, drizzling them with white chocolate would look great too. 
I kept the dessicated coconut the same size, but feel free to blend it up finer,to make it more like a bounty bar. If you want something a bit different try adding zest of one lime, its really good trust me. Or if you love chocolate, adding cocoa powder would make a healthier version of chocolate rough, add more coconut oil, as it will make the mixture drier. 


Ingredients

1 cup desiccated coconut
2 tbsp honey/maple syrup or similar
2 1/2 tbsp coconut oil
100g dark chocolate, melted

1. melt the coconut oil, and mix in the honey or syrup
2. stir in the coconut, and press into balls( i let the mixture firm up a little, in the fridge before rolling)
3. once the balls are made, place in the fridge to firm up completely, about 30mins
4. once set, dip in the melted chocolate, coating the surface
5. chill until set


Monday, 15 December 2014

Cashew butter

I wasn't intending this post to be a Christmas gift idea, but sometimes life is so busy that the blog gets behind schedule. But hey, coursework can just sit in the back corner for a while( for just a few minutes, don't worry mum!) . This is perfect homemade gift for that person who is a complete health freak, but you still want to give them a homemade food gift. 
nut butters
This roast cashew butter is super simple to make, and only requires one ingredient. I kept mine just plain cashew, with a little bit of salt to taste, but feel free to churn up, honey roasted nuts or spiced nuts for an interesting twist. Or add your own flavors e.g. vanilla.

For simple twists, set aside a few cashews to finely chop up later for a crunchy cashew butter. Or if your feeling lazy just blitz up the nuts without roasting them, for a raw cashew butter.

roasting nuts
ingredients 

500g of cashew nuts( this makes a nice amount, but feel free to do more or less)


1. Roast the cashews in a dry pan or oven. Just remember to keep an eye on them.


2. Pop into a food processor and start chopping up.


3. Continue blending it will then reach a fine crumb stage.


4. Continue. It will start sticking around the edge, and may seem like it will never create nut butter.

5. Keep blending, and it will start clumping together, at this point you might want to add oil but don't, keep persevering. 
6. Nearly there...

7. When it smooth and like a paste it ready. If you like it thick you can take it out now, if you prefer it thinner feel free to continue. as it will release more oils and making it thinner.

nut butter

8. Enjoy yourself, or tie with ribbon and give to a friend.


spoon and jar

Emma x

Friday, 14 November 2014

Rocky Road

These things.....oh so beautiful. Delicious. just so......well there are very few words to describe my emotions to these. um mm, so very very good. 
And yes, somehow even though i didn't need it, i convinced myself that, yes, i did need one of the last three, when writing this, because of course it helps me write; who am i kidding. The chocolate is creamy, and the perfect sweetness not too bitter, like all dark chocolate ,and not to sickly sweet as milk chocolate can be when mixed with other incredibly sugary things. Even my mum will eat this, when generally, shes not a rocky road kinda gal, as often it is too sweet.
chocolate bars
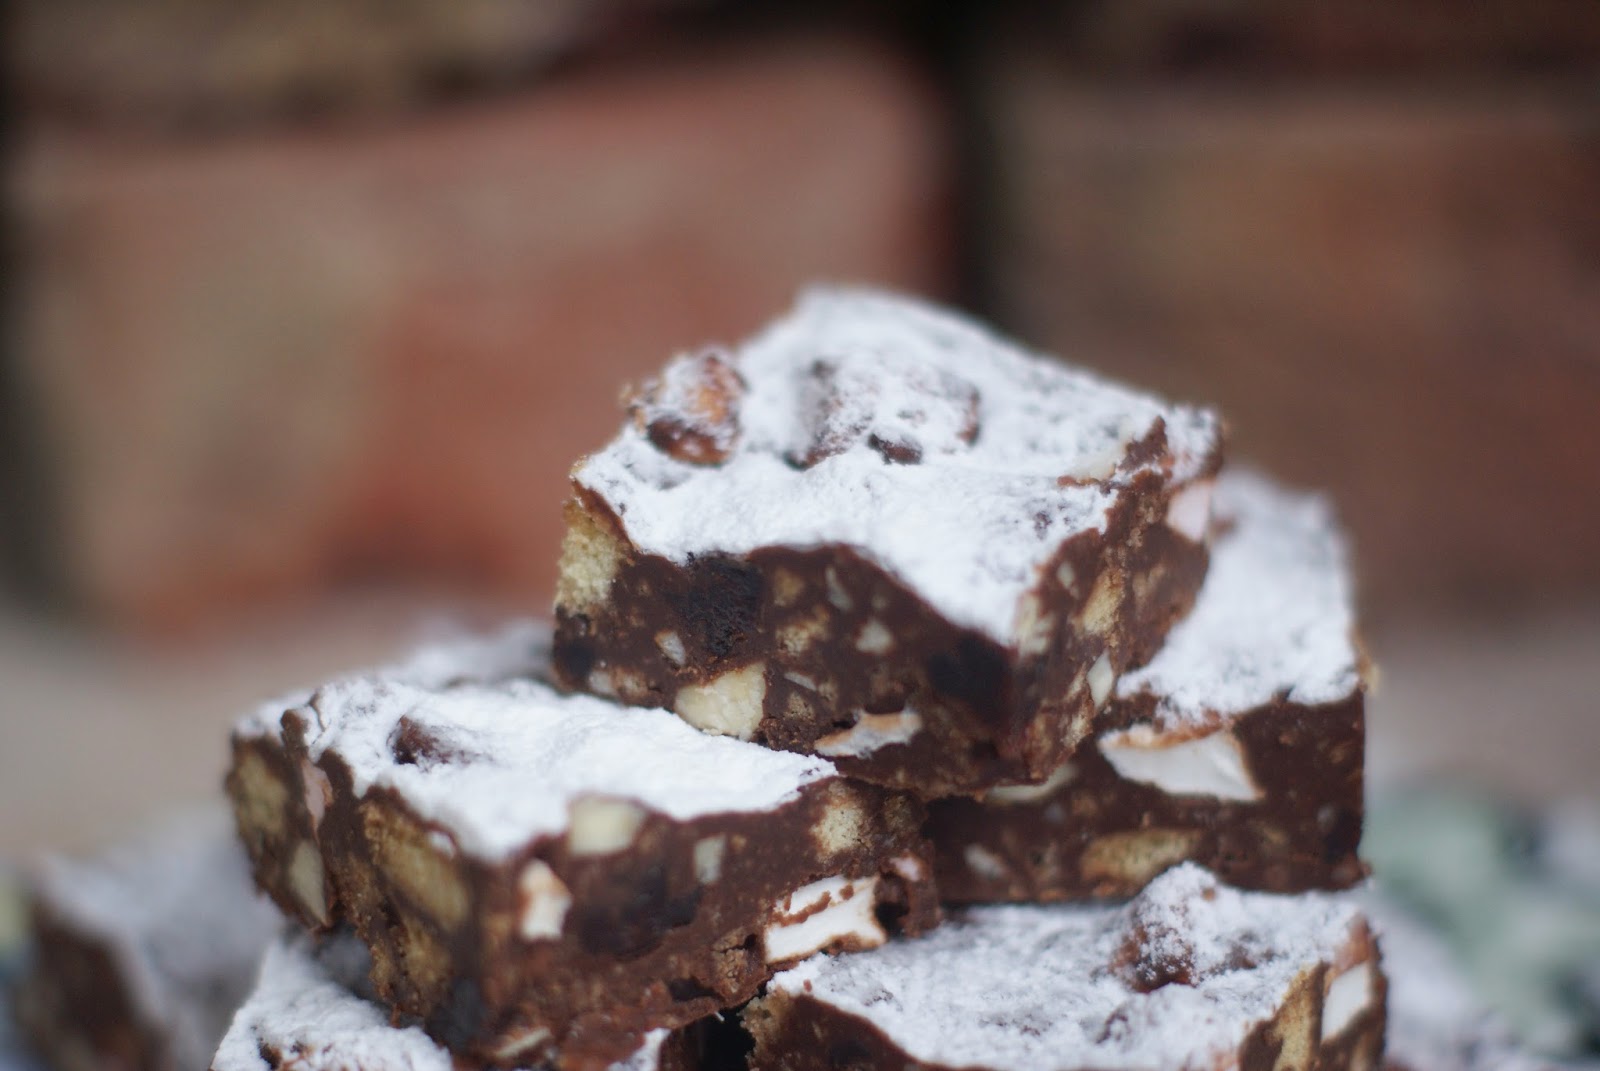
Feel free to play up the inside things, to whatever takes your fancy. I like to keep the base the same, with 50/50 of each chocolate, mini marshmallows (because who can be bothered to cut up massive ones, it just saves a whole lot of time) and digestives. The rest is up to you. This time i chopped up almonds, and added sour cherries. In the past, for children my sisters age (around 10,) i didn't use nuts and put in cranberries, as they are sweeter for young children,then filled the rest up with more digestives and marshmallows. i also kept the chocolate mix the same as i think its great for all ages, but feel free to switch is up the chocolate, for whoever your are giving it to.
baking blog
Its super quick, and you probably have all the ingredients already, so is perfect for a last minute, ahhh some one is visiting panic.  Its also super easy to adapt seasonally, such as adding pistachios and cranberries for a Christmassy feel( talking about Christmas is now officially allowed its November now. OK.) or make it your own by adding your favourite chocolate bar ,or totally change the look, by making it a white rocky road,and now i mention it i might try crunchie bar next time. 

baking blog
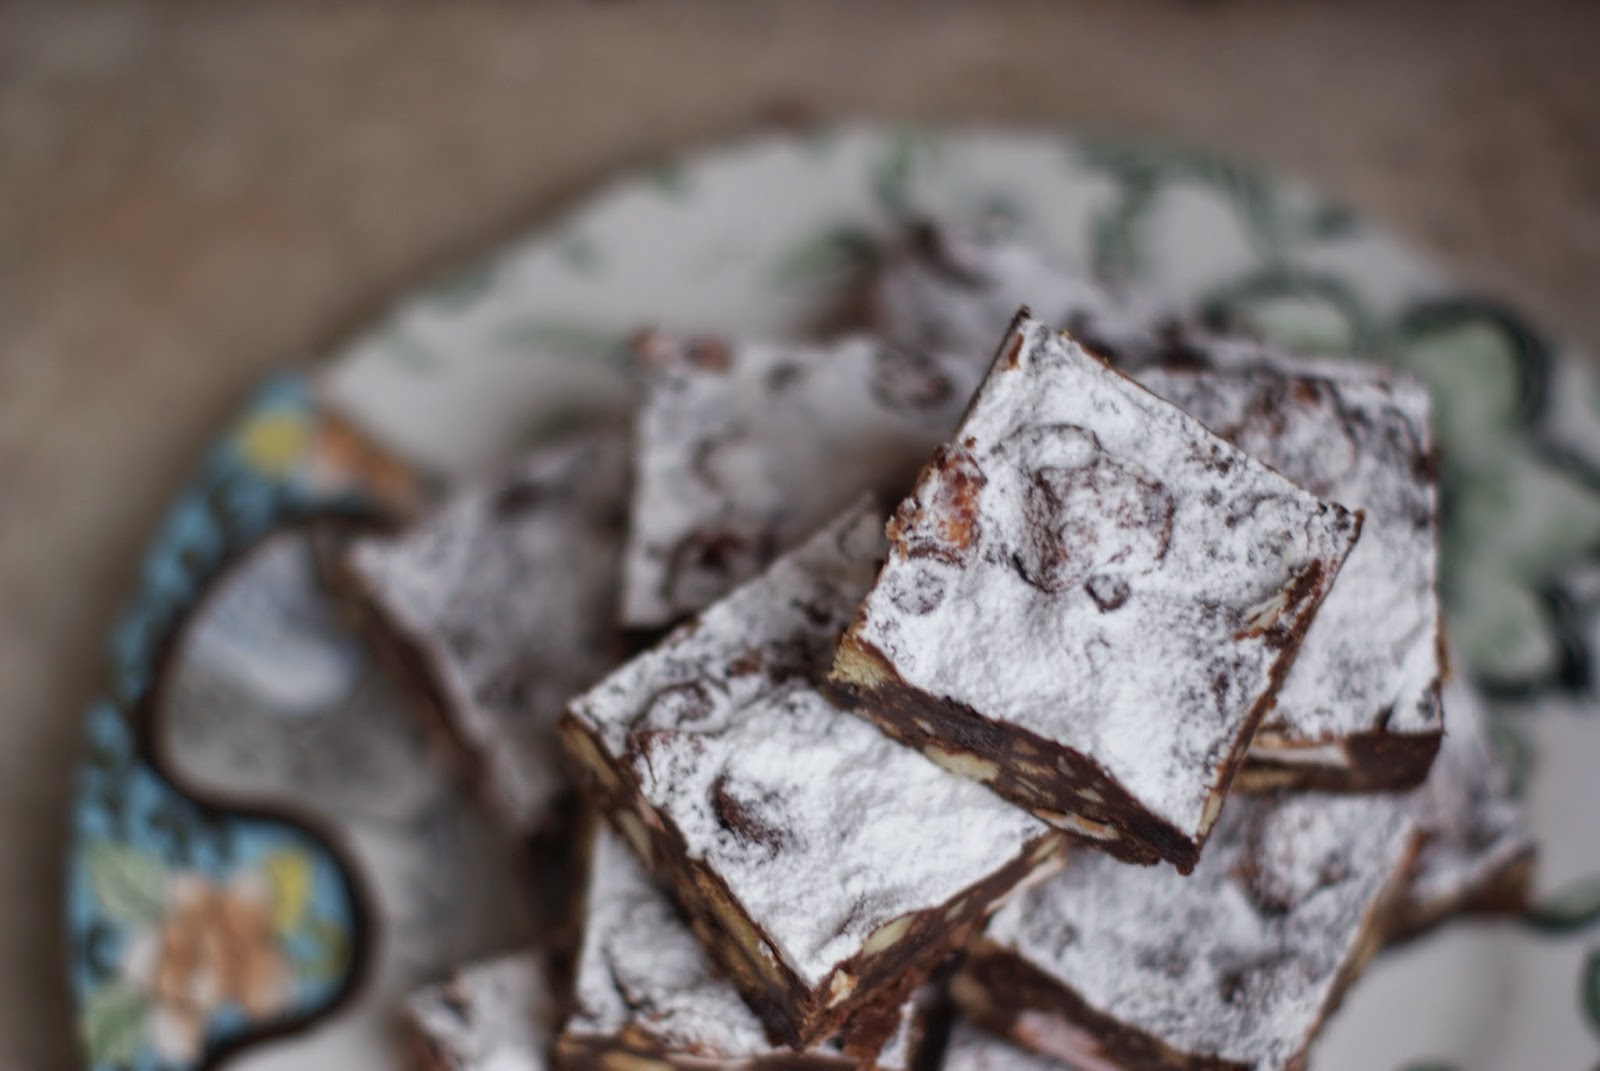
Dusted with icing sugar, very apt for this time of year, like a dusting of snow.
baking blog

baking blog
Ingredients 

125g butter
150g dark chocolate
150g milk chocolate
3 tbsp golden syrup
100g digestive biscuits
100g of nuts, dried fruit, whatever takes your fancy or fill up with more digestive or marshmallows
100g mini marshmallows

icing sugar, to dust

1. line rectangle tin and grease the paper(i greased the tin this time and i found it was harder to get out, so learn from my mistakes and don't.)
2. melt the chocolate, butter and golden syrup until fully combined, and you just want to gulp it down, right then and there. i don't recommend doing this as it could cause a heart attack, not from how good it is but, sadly from the amount of sugar.
3. stir in the last 4 ingredients(not the icing sugar)
4. spoon into the tin(leaving about 2 tbsp, because a bowl with nothing in, is not worth scraping out, and that is the best part to baking, am i not right.) and flatten as best as you possibly can.
5. chill in fridge for about 2 hrs, or until firm
6. dust with icing sugar and cut into squares
7. demolish, as slowly as you can(because lets be honest its not the most healthy treat you could eat). bet you cant last a week.

let me know what you decide to add. Emma x